
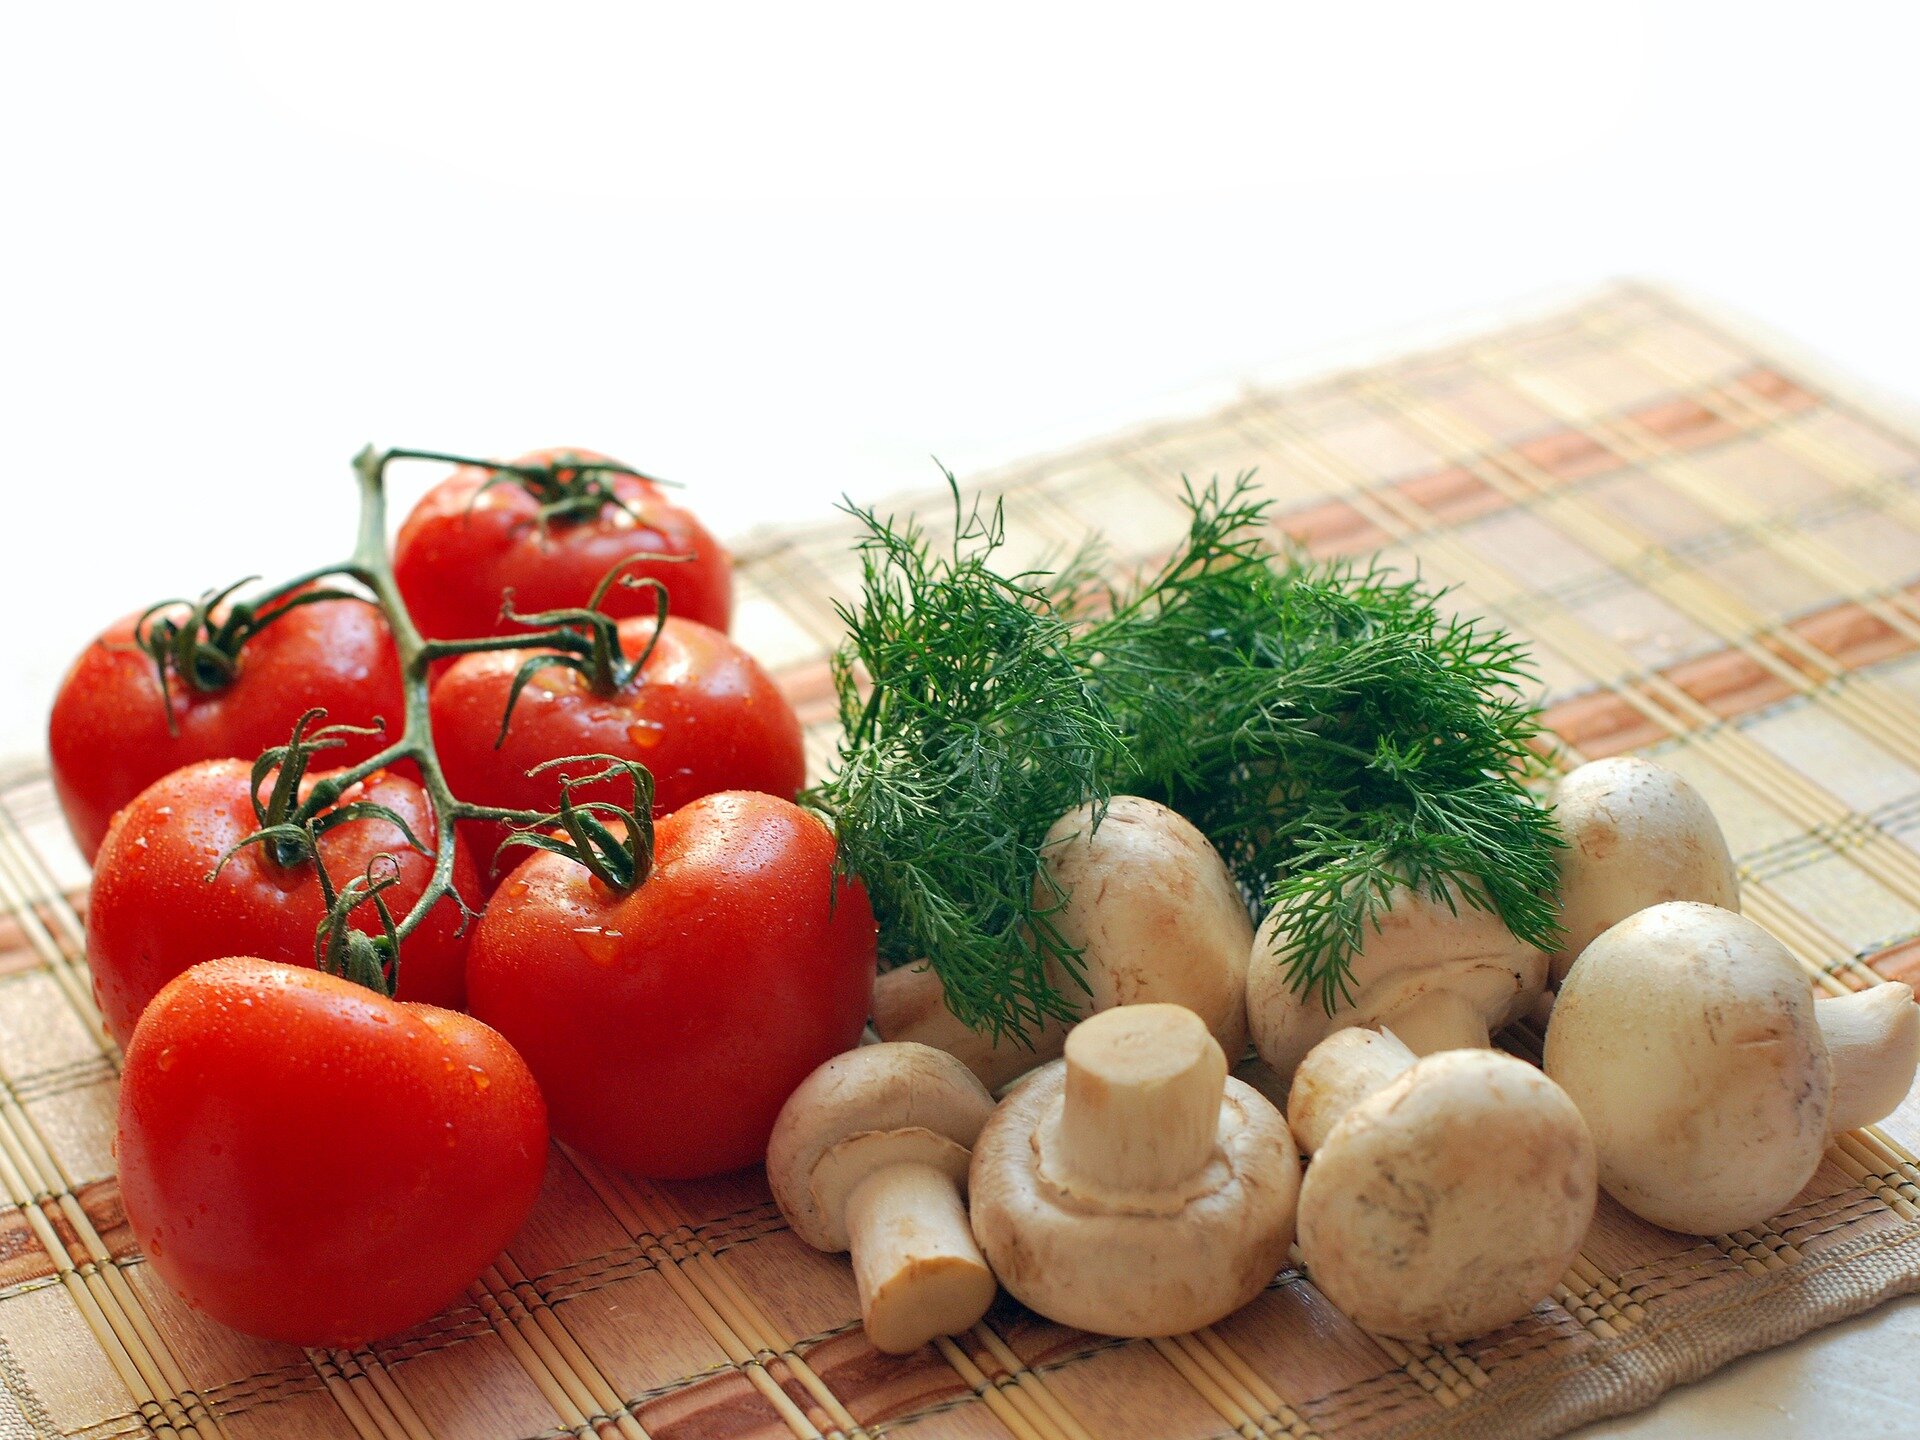
Cooking is one of the few things in this world where I can lose myself and forget about the world. There’s something about the process that’s so magical. From just a bunch of vegetables and raw meat, you can create a meal that will bring happiness to everyone who eats it. Not only that home cooking also ensures that you know what you are putting in your food making it healthy and nutritious.
Nothing can stop me in the kitchen when I’m chopping away the vegetables, and measuring how much water to put in the soup. I would like to share my love for cooking to you. If there’s anything you should learn in life, it’s how to feed yourself.
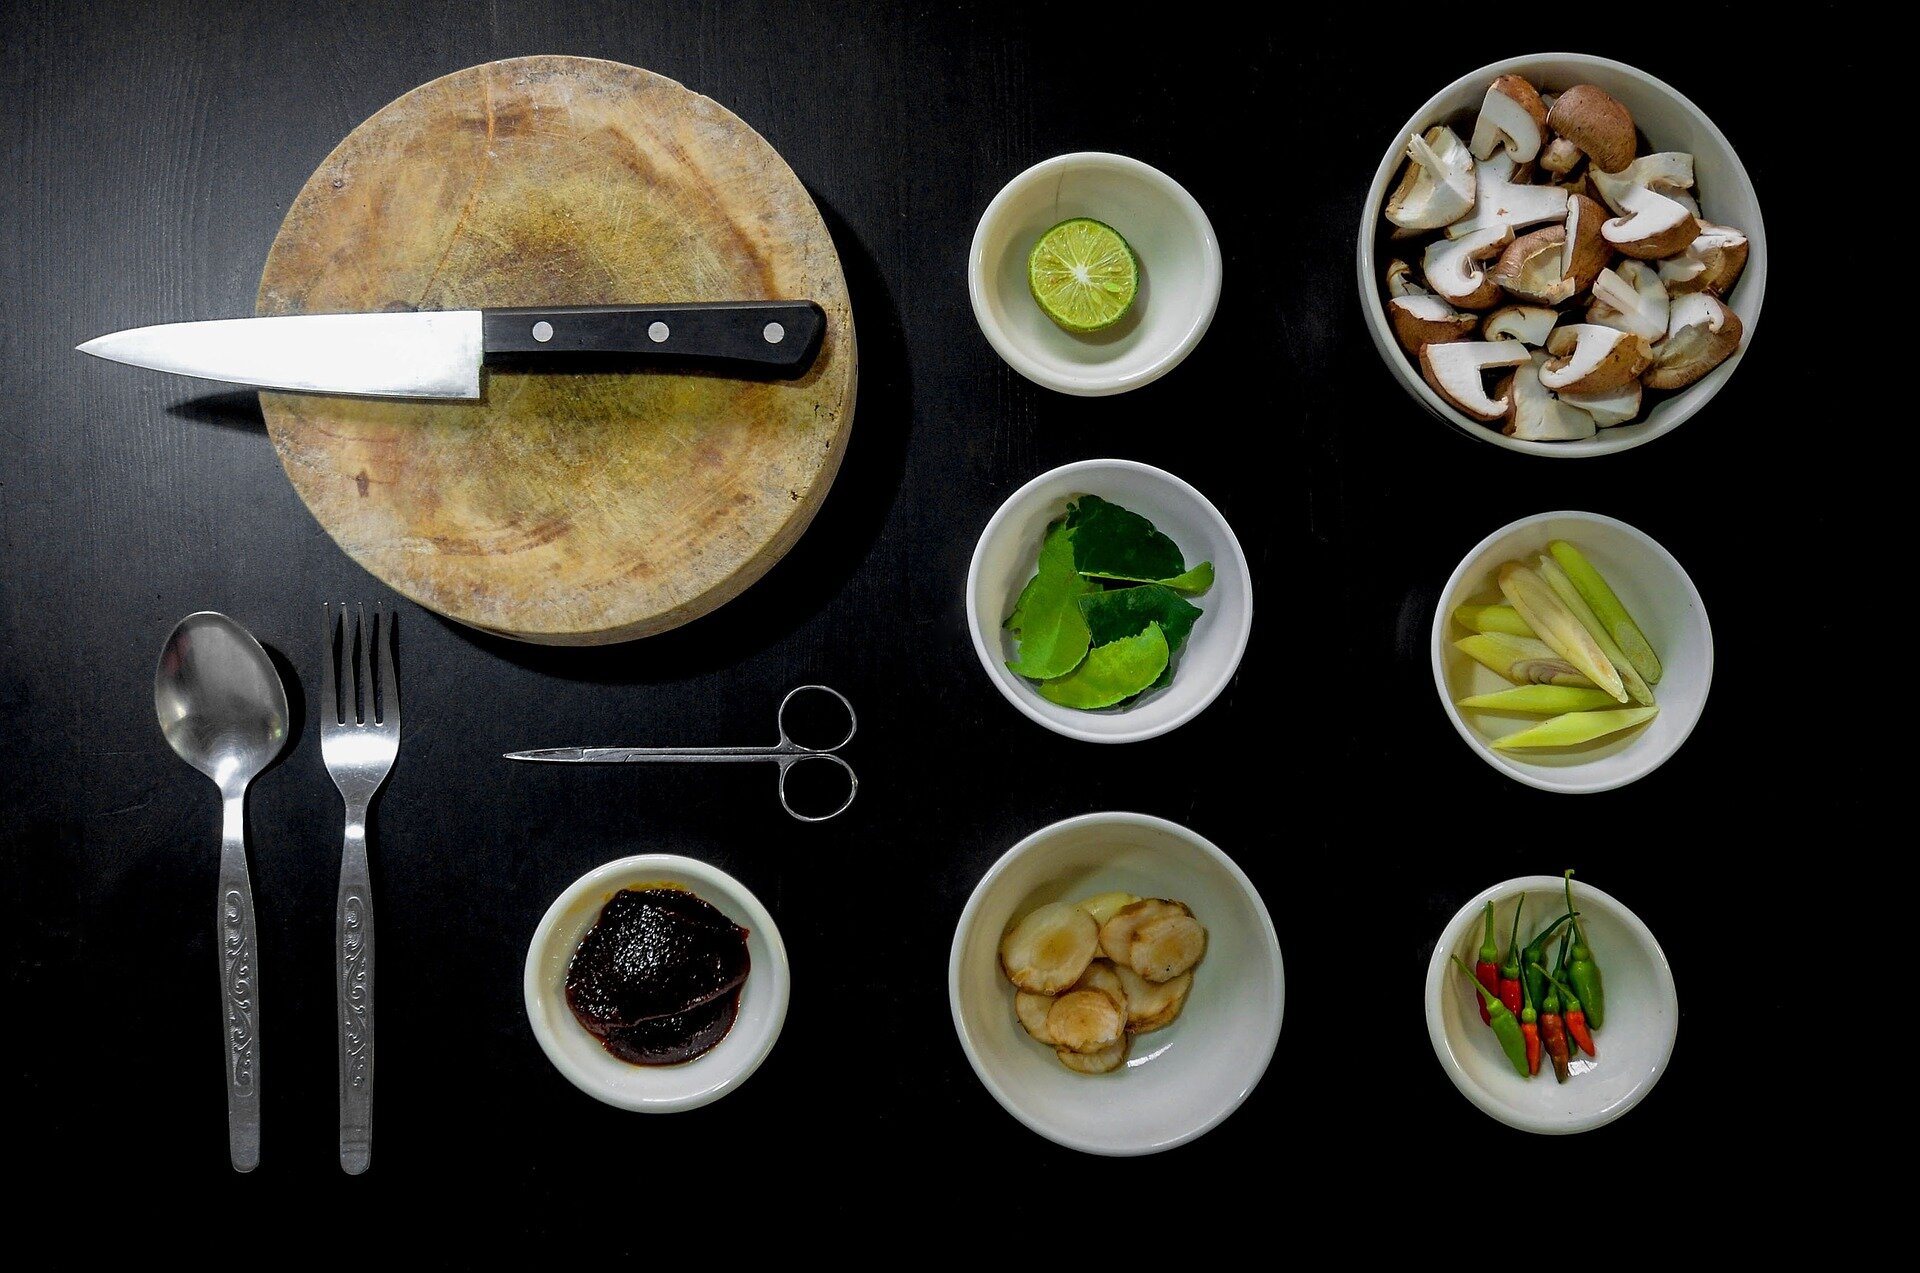
You would think that people would spend more time in the kitchen since we can’t live without eating. But no, we tend to get lazy. There’s so much more in store for you when you learn more about cuisine. Even simple ingredients can lead you to a more high quality life with better food.